Form validation with Phoenix LiveView
One thing that has always been problematic is when providing live form validation for a user that interacts with a form.
The problem has always been that you need to have validation logic in both backend and frontend. That is of course not optimal.
However, with Phoenix LiveView, the problem with providing form validation is to a large extent solved. Let me explain how.
### STEP 1
In this tutorial I already have a project setup but I want to generate a resource for products.
```
mix phx.gen.html Products Product products name description:text price:float
```
When that is generated, follow the instructions and add the resources in the routes and run
```
mix ecto.migrate
```
I can now start the server with
```
mix phx.server
```
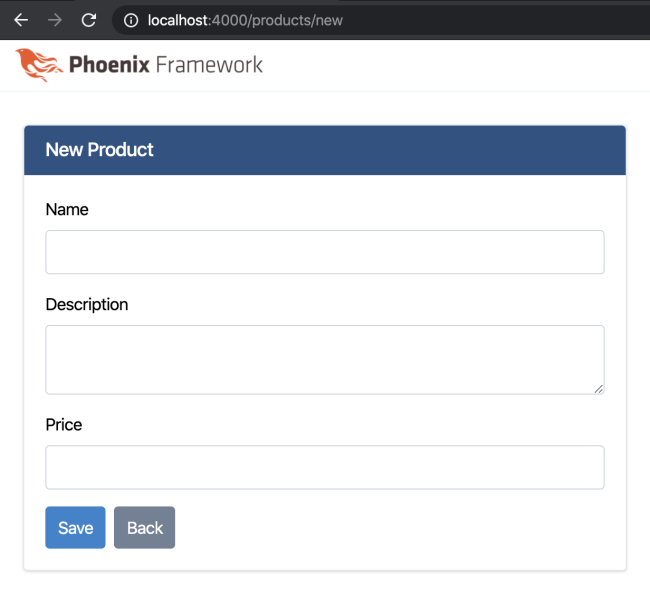
And navigate to `http://localhost:4000/products/new` and see the form.

### Step 2
Next step is to customize some validation rules. For example, I want to make sure that the name needs to be of a specific length and the price needs to be larger than zero.
In the file `lib/tutorial/products/product.ex`, I can add the extra validation rules in the bottom of the changeset function.
```elixir
def changeset(product, attrs) do
product
|> cast(attrs, [:name, :description, :price])
|> validate_required([:name, :description, :price])
|> validate_length(:name, min: 2)
|> validate_number(:price, greater_than: 0)
end
```
### Step 3
Now, I can stop the server and create a folder called `live` inside the `/tutorial_web/` folder. Then create the file `lib/tutorial_web/live/product_form_live.ex`.
The initial content will be a very basic LiveView component.
```
defmodule TutorialWeb.ProductFormLive do
use Phoenix.LiveView
def mount(%{"action" => action, "csrf_token" => csrf_token}, socket) do
assigns = [
conn: socket,
action: action,
csrf_token: csrf_token
]
{:ok, assign(socket, assigns)}
end
def render(assigns) do
TutorialWeb.ProductView.render("form.html", assigns)
end
end
```
Note that I expect `%{"action" => action, "csrf_token" => csrf_token}` to be included when I eventially call the LiveView component.
As you can see, I am referencing a template that I have yet to create. I need to rename the `form.html.eex` to the LiveView compatible `form.html.leex`.
The LiveView component are included in both when you are creating a product and editing a product. So I need to update the code in both `lib/tutorial_web/templates/product/new.html.eex` and `lib/tutorial_web/templates/product/edit.html.eex`
I need to update those file to call the actual LiveView component. Replace:
```erb
<%= render "form.html", Map.put(assigns, :action, Routes.product_path(@conn, :create)) %>
```
With:
```erb
<%= live_render @conn, TutorialWeb.ProductFormLive,
session: %{"action" => Routes.product_path(@conn, :create), "csrf_token" => Plug.CSRFProtection.get_csrf_token()}
%>
```
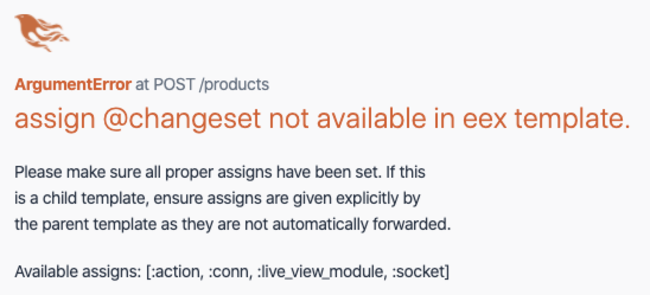
When I start the server now, and navigate to `http://localhost:4000/products/new` I can see the error:

I need to add the changeset to the LiveView component.
In the top add:
```elixir
alias Videos.Products
alias Videos.Products.Product
def mount(%{a"action" => action, "csrf_token" => csrf_token}, socket) do
assigns = [
conn: socket,
action: action,
csrf_token: csrf_token,
changeset: Products.change_product(%Product{})
]
{:ok, assign(socket, assigns)}
end
```
Now, when refreshing the page the form should be visible. However, if I enter something, I dont get the form validations. For that to work, I need to tell the component that it should validate.
in `lib/tutorial_web/templates/product/form.html.leex` I need to make 2 changes. First its the `phx_change: :validate` and `csrf_token: @csrf_token`.
```erb
<%= form_for @changeset, @action, [phx_change: :validate, class: "block", csrf_token: @csrf_token], fn f -> %>
...
<% end %>
```
The `csrf_token` needs to be specified so that Phoenix recognises and allows the form to be submittet.
And back in the LiveView component, I need to add the event handler for the validation:
```elixir
def handle_event("validate", %{"product" => product_params}, socket) do
changeset =
%Product{}
|> Product.changeset(product_params)
|> Map.put(:action, :insert)
{:noreply, assign(socket, changeset: changeset)}
end
```
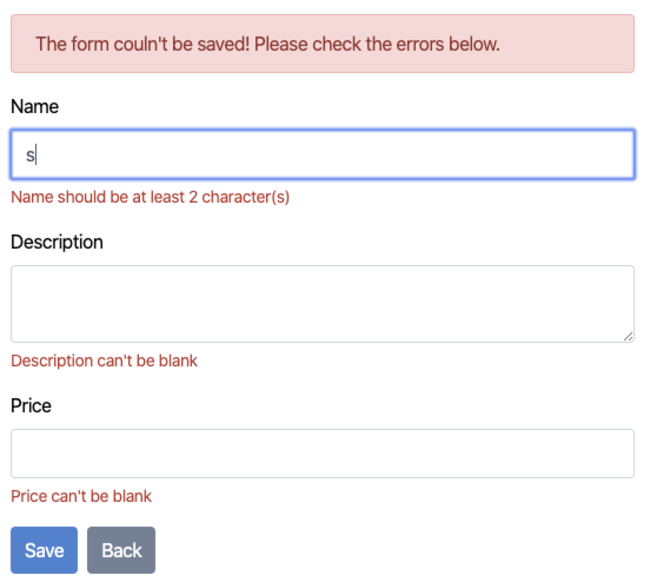
If i go to `http://localhost:4000/products/new` and test this out by typing a character in the name field I can see that it works. Kind of..

First, one issue is that the alert error is displayed. Second, it displays the error messages for the fields I havent even touched.
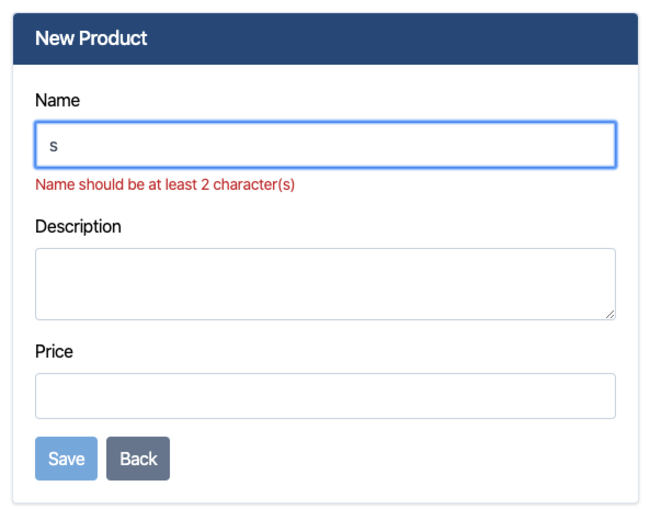
To fix the first issue, I will just remove the alert from the file `lib/tutorial_web/templates/product/form.html.leex`.
Actually, I dont even want anyone to be able to submit the form if invalid, so I will change the submit to:
```erb
<%= submit "Save", class: "btn btn-primary mr-2", disabled: !@changeset.valid? %>
```
and update CSS to:
```css
.btn.disabled, .btn:disabled, input[type="submit"]:disabled {
opacity: .65;
@apply pointer-events-none;
}
```
To fix the second issue with displaying errors in all fields, I need to open `lib/tutorial_web/views/error_helpers.ex `
and in the function `def error_tag(form, field) do` and add `, data: [phx_error_for: input_id(form, field)`:
```
def error_tag(form, field) do
Enum.map(Keyword.get_values(form.errors, field), fn error ->
field_name = field |> Atom.to_string() |> String.capitalize()
content_tag(:span, "#{field_name} #{translate_error(error)}", class: "block mt-1 text-sm text-red-700", data: [phx_error_for: input_id(form, field)])
end)
end
```
### Final result and comments
So, this now works when adding a new resource.

However, the code needs to change slightly to make it work with edit a resource so [i have a full example on Github](https://github.com/andreaseriksson/tutorials/commit/53ade0afcdaf57b0534b9f1e2369f6af3d580c0f)
But basically we just need to make sure we have an existing product or a new `%Product{}`.
